

Basic Photography Tips
For the photographers that follow my work, I put together a short list of quick basic photography tips. If you would like more tips, subscribe to my twice monthly photography tips email. I make them short for you to practice and remember. The twice monthly email consists of three to five quick tips that both beginners and more experienced amature photographers will find useful.
Get out and Practice

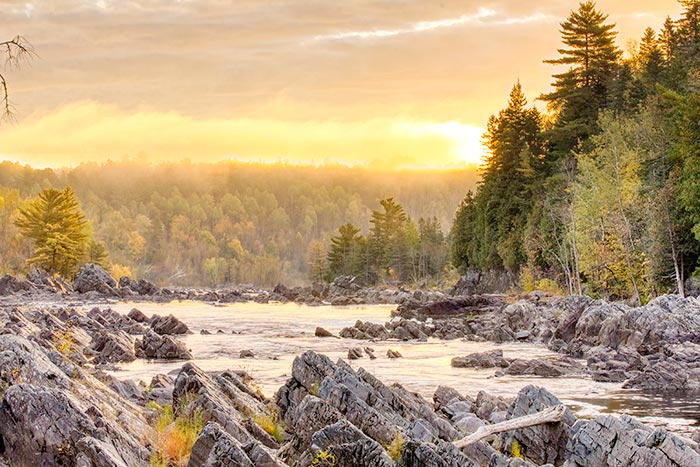
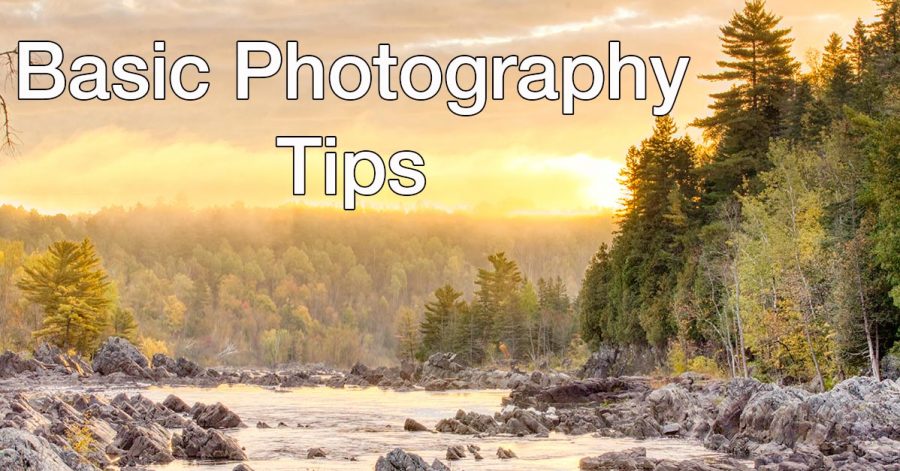
Photographs taken at golden hour can have a special warm and dreamy look to them.
I’d like to tell beginners that they need to practice. New photographers improve faster when they get out and shoot at least two or three times a week.
When practice shooting, shoot on manual to practice things like adjusting f-stop and shutter speed. Even try manual focus. There are times when manual focus works best. It’s good to know how to use it for when you need it. Also practice with different compositions and different subject materials. Think differently.
Even try manual focus. There are times when manual focus works best. It’s good to know how to use it for when you need it. Practice with different compositions and different subject materials. Think differently.
Keep Your Batteries Charged
Nothing will kill your shoot quicker, than having your batteries die. Don’t head out with a half used battery, especially if you don’t have a second with you. At the end of the day, always charge your battery.
When you travel make sure you bring more than one on your trip and bring a charger.
Get closer
One of the first things I tell my students when speaking about composition, is I tell them to get closer. Getting closer can be done by physically getting closer or by zooming in. Getting closer makes your photography better because it helps eliminate the area around your subject that does not add to the story or composition. What does not add to the impact of your photo, takes away from the impact of your photo. Often in photography, less is more.
Learn to Use the Histogram

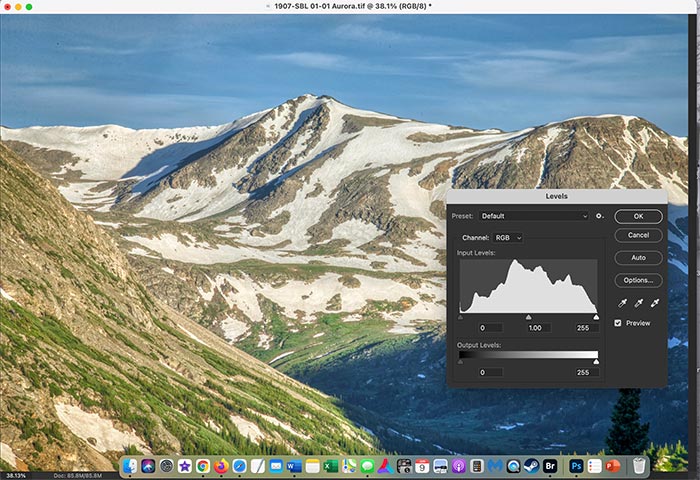
This mountain photo has a well-balanced histogram.
An important basic photography tips that is often overlooked is the histogram. An LCD screen on the back of a camera can be misleading when trying to determine if an exposure is correct. A better way to judge exposure is by looking at an image’s histogram.
A histogram is a graph plotting the dark and light pixels in your photograph. It shows the amount of bright tone pixels, the amount of mid-toned pixels and the amount of dark toned pixels. It plots them on a graph ranging from 0 to 255, with zero representing absolute black and 255 representing washed out white.
If your histogram is pressing hard up to the left side of the graph, your image is under exposed. If your histogram is pressing hard up to the right side of the graph, your image is over exposed.

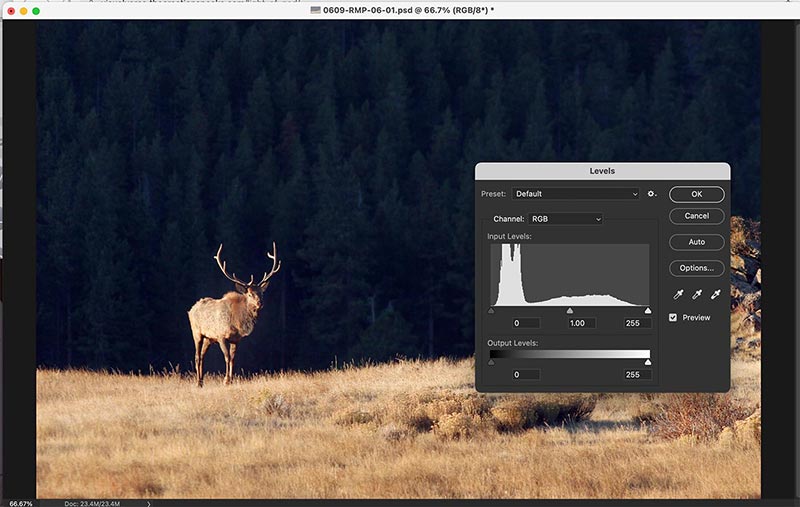
This photograph has a dark background, but the area in the middle of the histogram shows that the mid-tones are well-balanced.
Learn to Use the Histogram Part II
Histograms should be somewhat balanced, but an actually bell-shaped curve would be extremely rare. The look of your histogram will depend on the lighting situation when you record your image. A dark background will tend to lean your histogram to the left, but that would be ok if you still see a good size bump in the middle of the graph like in the sample elk photo. Just make sure the graph doesn’t press up against the left side and that the right 25% of the graph is completely void.
Rule of Thirds
The very first compositional technique I teach my students is the rule of thirds. It’s a simple compositional technique that has the potential to greatly improve your photography.
Divide what you see through your viewfinder with a mental tic-tac-toe grid. Some camera’s actually have this type of grid available as an overlay option for your viewfinder. Check your camera’s menu options.
Where the grid lines intersect are the rule of thirds sweet spots. Look to have something important in your image on or slightly outside one of those sweet points (see elk photo).
Be careful not to go “all out” trying to do rule of thirds on every photo. It’s more important to keep your photograph in balance and that it tells a story. Also, have your subject moving into your frame instead of out of your frame (see elk photo used for histogram).
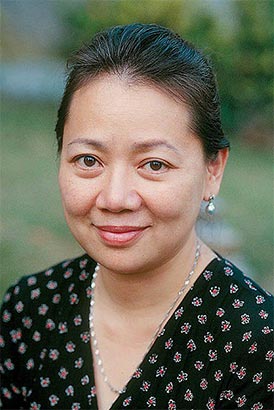
Portraits and Focus Zone
When shooting portraits, pick just one autofocus zone/point in your camera. Never select all of the focus points. If you use multiple focusing points, you run the risk of the camera focusing on the wrong thing, such as the background. Use just one focusing point and use that to focus on someone’s eye.
When people look at another person, the primary thing they notice is someone’s eyes. By using one single focus point and placing that focus point on someone’s eye, it ensures that the eye will be in focus. That focused eye will draw the viewer to the eye of the subject and the viewer will better connect with the person in the photo.
The Go to lens for Portraits

Use telephoto lenses when taking photographic portraits. A telephoto lens eliminates distortion and does not exaggerate features such as noses and ears. Some photographers like to use a short telephoto prime lens such as an 85 mm for portraits. I prefer to use a 70 to 200mm zoom 2.8.
Join a Camera/Photography Club
Camera clubs and photography clubs are everywhere. There is probably one not far from you. I would recommend joining one. Camera clubs are great places to exchange knowledge, learn techniques, get exposed to different makes and models of cameras and get feedback on your photography. Most clubs also bring in local professional photographers to speak at their monthly meetings. Hearing from an expert will help you improve your photography.
So that’s the short list for now. If you’d like to get more tips, be sure to sign up for my photography tips newsletter.
If you would like some fall photography tips check my article on Inspiration.org.